Your amazing hat designs deserve to be seen in their best light, but without the right photography approach, your online listings can struggle to capture attention. Discover how to take product photos of hats using our expert tips on setup, equipment, and photography techniques to improve product listings and drive sales.
How to Take Product Photos of Hats
Product photography of hats begins with proper setup and preparation, including establishing the ideal studio environment, selecting suitable equipment, and configuring optimal lighting to effectively highlight the products. Photographers use various angles and perspectives, demonstrate proper fit and scale on models or mannequins, and capture the intricate textures and materials that make each hat unique and desirable to potential buyers.
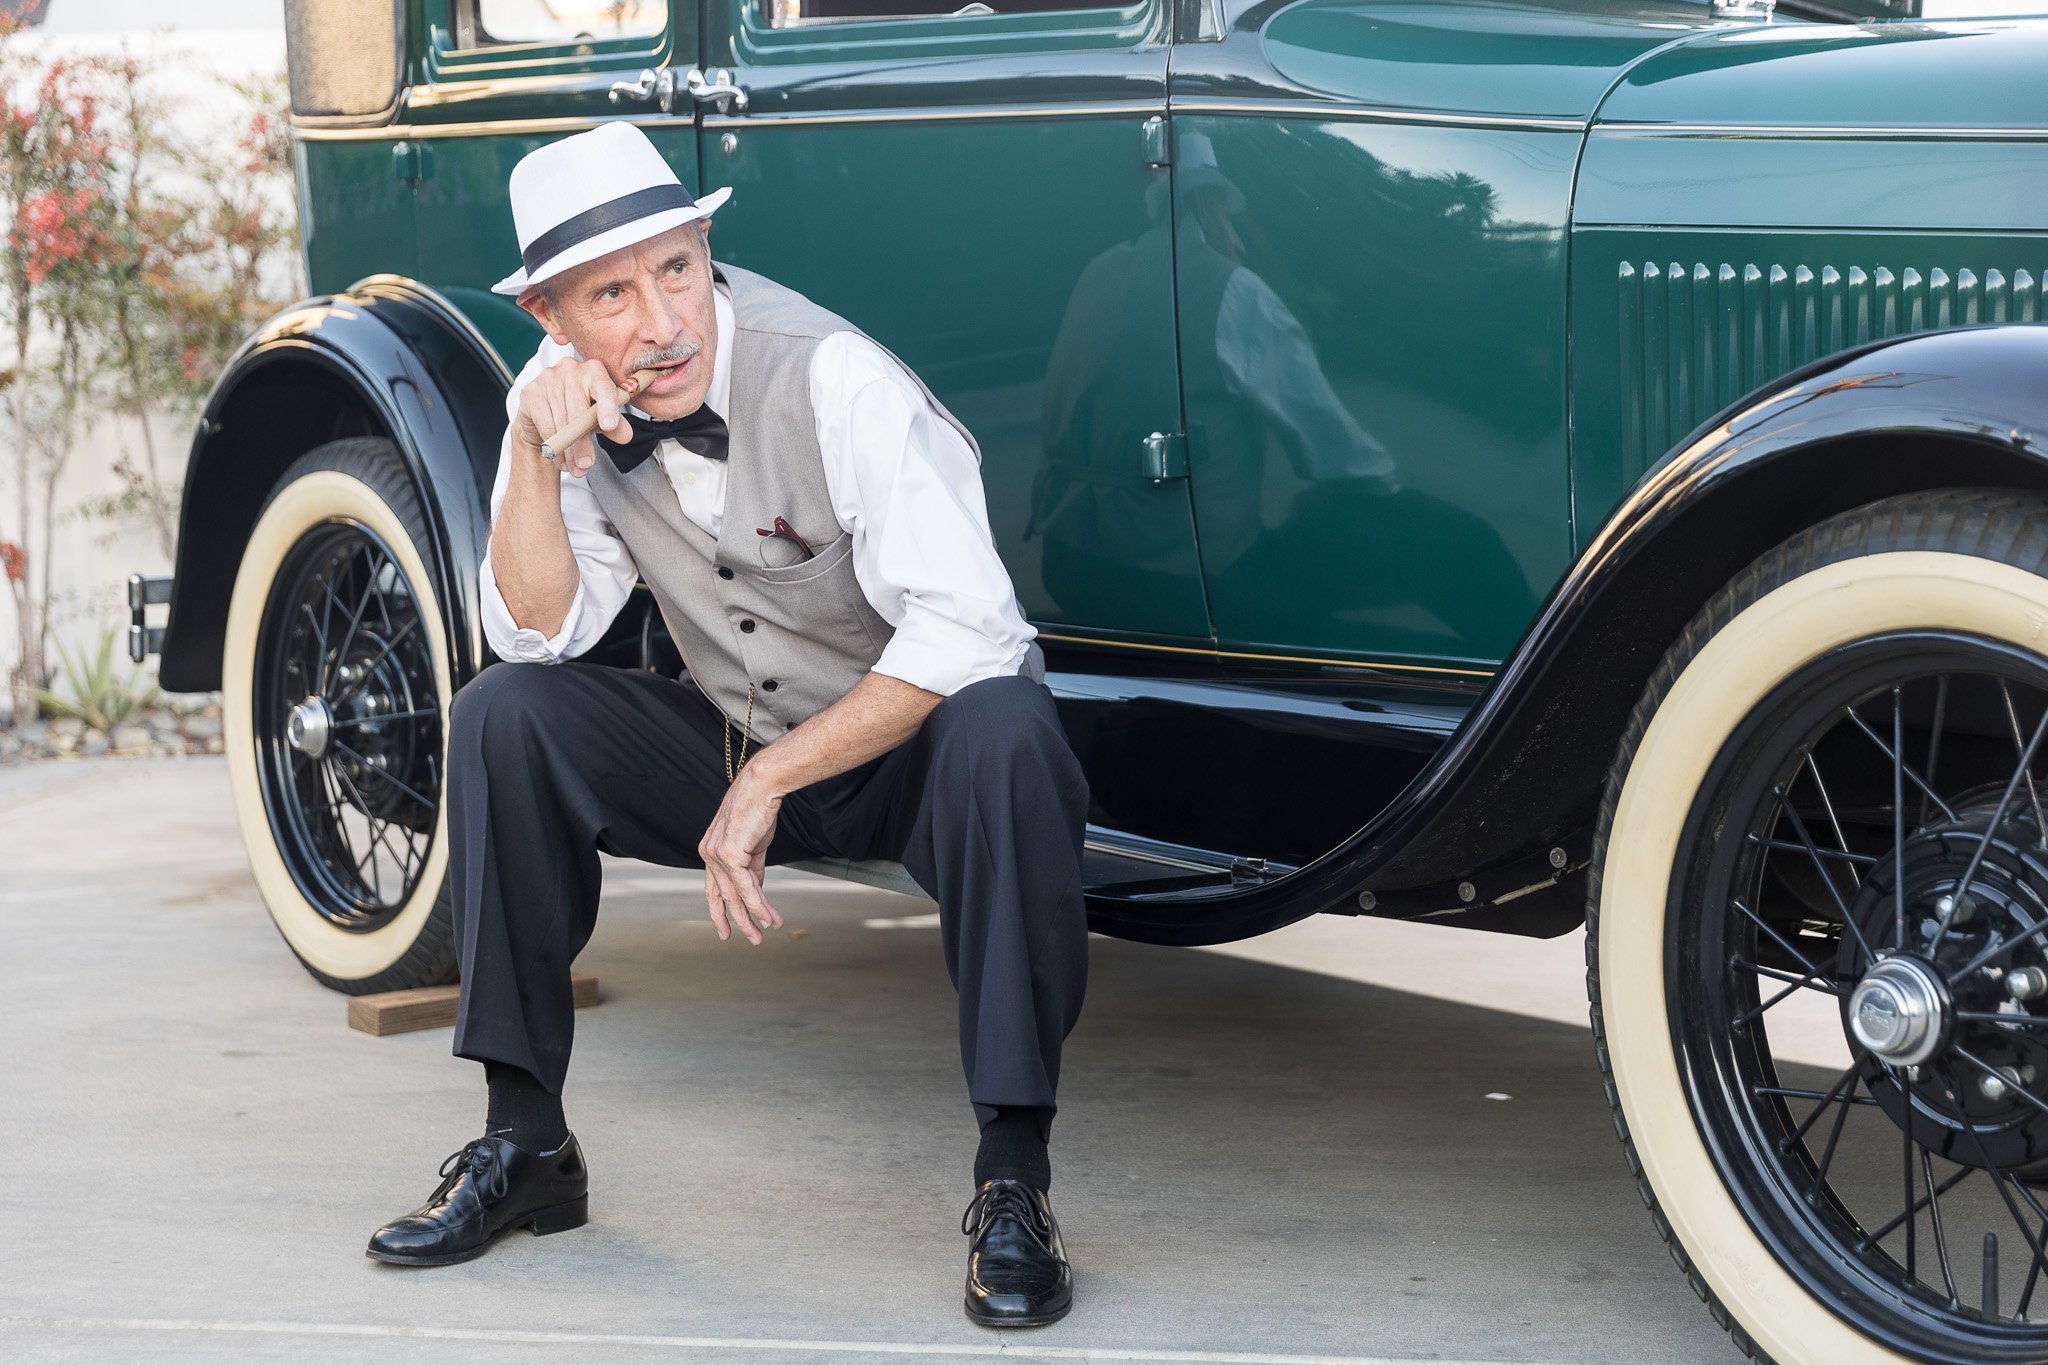
Amateurish or poorly lit product images can cause potential customers to scroll past your products, resulting in lost sales and damage to your brand’s credibility. Get more professional results with the expert techniques of our product and branding photographers.
| Technique | Action Steps |
| Shoot setup | Controlled environment with neutral backgrounds, adequate space for equipment, and minimal distractions |
| Prepare equipment | Gear, including camera, tripods, lighting equipment, reflectors, and hat forms or mannequins |
| Lighting | Proper lighting with softboxes for even illumination without harsh shadows |
| Angles and perspective | Multiple viewpoints, including front, back, side, three-quarter, and overhead shots for comprehensive coverage |
| Fit and scale | Models, mannequins, or lifestyle shots to demonstrate proper sizing and how the hat looks when worn |
| Texture and material | Fabric details, stitching, embellishments, and material quality |
Setup and Preparation for Stunning Hat Shots
Our hat photography workflow begins long before the first click of the shutter, with meticulous setup and preparation laying the groundwork for visually striking images.
1. Setting Up the Studio or Photo Shoot Location
Creating a tidy and organized shooting area brings consistency to every photo. This is why we have a standard setup that makes it easier to control the shoot. Here’s how we speed up our workflow:
- Choosing a simple, plain background to keep the focus entirely on the hat and allow for versatile post-production editing.
- Utilizing a stable table to position the products precisely and consistently throughout the shoot.
- Keeping hats clean and free of lint, dust, or blemishes to maintain their intended shape and quality.
2. Preparing the Right Equipment
Having the right gear makes the job easier and enables our photographers to get true-to-life photos. We use these tools to capture sharp, detailed photos of hats every time.
- Setting up a reliable camera, usually a DSLR, paired with 100mm lenses for capturing both standard shots and intricate details.
- Placing a sturdy tripod to maintain camera stability and consistency across every shot.
- Preparing fill lights, reflections, cleaning tools, and extra batteries to avoid interruptions during the shoot.
3. Lighting Hats for Impact
About 41% of consumers rely on visual elements to make their buying decisions. Our strategic lighting techniques define a hat’s form, texture, color, and unique design elements. Here’s how we shape light to make hats look more eye-catching.
- Employing soft, diffused light sources to illuminate the hat evenly, minimizing harsh shadows that can obscure details or distort the hat’s shape.
- Experimenting with backlighting to create striking silhouettes or highlight edges.
- Positioning the main light source at a 45-degree angle to the product for a balanced blend of illumination and dimension to enhance form.
Photography Techniques for Capturing Hat Appeal
Once your setup is complete, our product photographers employ diverse angles and methods to best represent the hat’s features, fit, and tactile qualities.
1. Using Various Angles and Perspectives
Trying multiple camera angles helps show off each hat’s unique shape and style. Using different POVs will help online shoppers appreciate details they might miss in a flat, single shot. Our photographers apply these techniques to showcase a hat’s character:
- Shooting from multiple angles — front, side, three-quarter, and even overhead — to provide a comprehensive view that lets customers appreciate every facet of the hat’s design.
- Incorporating macro shots to emphasize intricate details such as stitching, unique patterns, logos, or embellishments, highlighting the craftsmanship.
- Experimenting with low angles to impart a sense of grandeur or high-end appeal, making hats appear more imposing and aspirational.
2. Showcasing Fit and Scale
Showing how a hat fits on a head, or next to familiar objects, helps buyers understand its size and shape. This reduces confusion and makes online shopping feel closer to in-store shopping. This is how our photography techniques provide context for buyers.
- Utilizing mannequin heads or human models to show how the hat naturally fits and sits on a head provides a realistic representation.
- Selecting props that provide a sense of scale helps viewers gauge a hat’s size relative to familiar objects.
- Including close-up shots that highlight the adjustment mechanisms to inform customers about the hat’s versatility.
3. Capturing Material and Texture
Clear, bright photos help shoppers imagine how the hat feels in their hands. The tactile quality of products conveys the richness and feel of their materials. Our photographers show real-life textures and materials to help people know what they’re buying.
- Capturing multiple detail shots that zoom in on the fabric, material, or unique characteristics of the hat’s construction.
- Employing directional lighting, such as side lighting, to accentuate the texture and contours of the hat’s material, making fabrics like felt, wool, or straw visibly rich.
- Using a shallow depth of field to draw attention to the hat’s weave or finish.
Related Questions
How Do You Post-Process Product Images of Hats?
Our photo editing team post-processes product images of hats by making basic adjustments like color correction, exposure, and white balance for accuracy. We also refine details by removing dust or imperfections, cropping for optimal composition, and sharpening the image to highlight textures and fine details.
Where Can I Use Product Photos of Hats?
You can prominently display your product photos of hats across various digital platforms, including your e-commerce website, social media channels, and online marketplaces. These high-quality images are also perfect for use in email marketing campaigns, digital advertisements, and printed marketing materials to promote your brand.
How Do You Overcome Challenges in Photographing Hat Products?
Photographing hats can be difficult because of their shape, brims, and how they sit. Our photographers overcome these challenges by using a mannequin head or model to showcase fit and scale accurately. We also employ soft, diffused lighting to minimize harsh shadows and highlight textures.
Conclusion
Strong product visuals promote customer engagement and positive purchasing decisions. For the ultimate in photographic excellence, collaborate with our professional product photography team to create polished and impactful images that build consumer trust and increase sales.

