
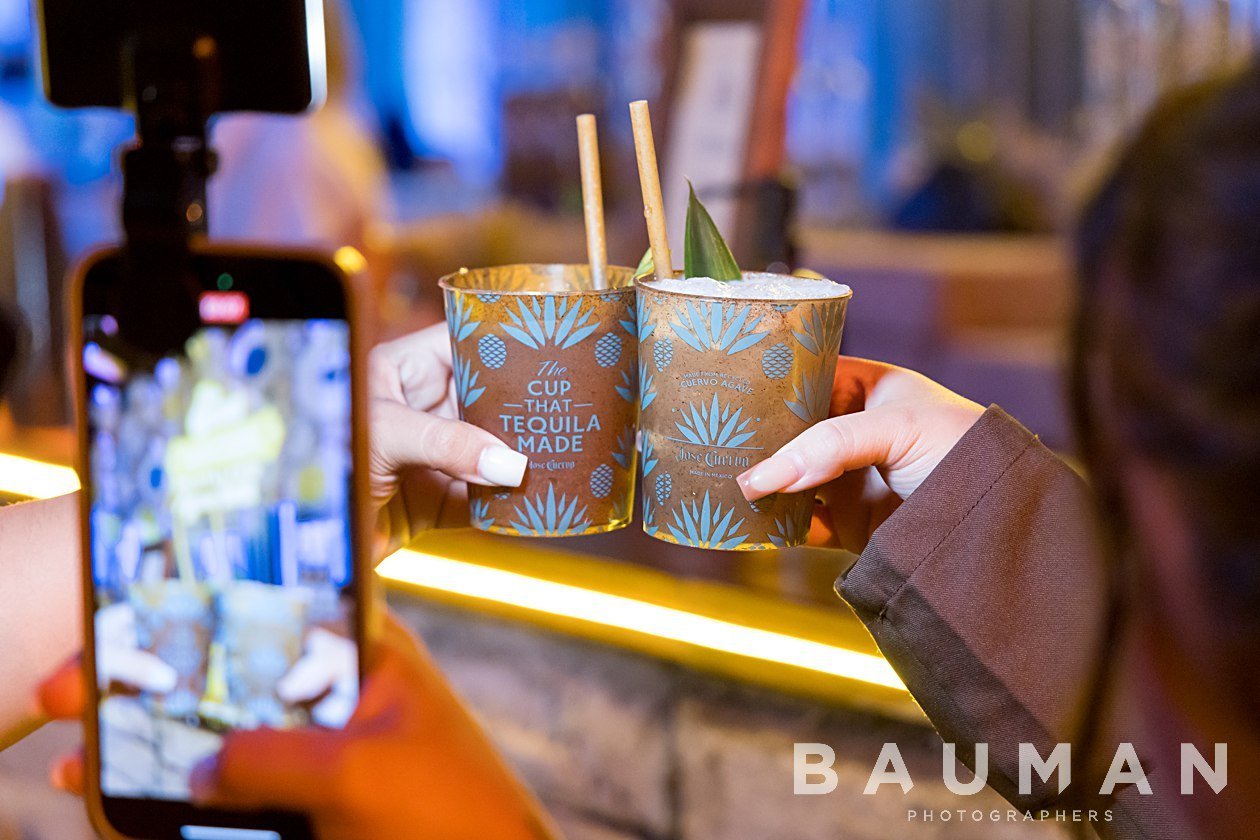
The iPhone has emerged as a convenient photography tool, but a simple point-and-shoot technique may result in low-quality product photos. If you’re a beginner learning how to take product photos with an iPhone, here are some tips to get you started.
Before jumping into the article, we want to clarify that at Bauman Photographers, we always use professional cameras and gear for our work and with clients. However, with how advanced camera technology has gotten on iPhones, we thought it’d be fun to share a few tips on how to use it if you wanted to try and take product photos for yourself at home!
How to Take Product Photos With an iPhone
Taking product photos with an iPhone requires thoughtful preparation, from choosing artificial lighting setups to creating backgrounds that tell your product’s story, plus investing in tripods or phone holders to avoid blur.
The technical execution involves adjusting camera settings, experimenting with various angles and framing techniques, and capturing fine details through burst mode and timer functions to achieve professional-quality results.
Practicing iPhone photography gives you the freedom to create stunning images whenever inspiration strikes. Here’s a sneak peek at how you can pull this off.
| Element | Action Steps |
| Lighting |
|
| Background |
|
| Stability |
|
| Phone camera settings |
|
| Composition |
|
| Shooting mode |
|
Set Up Tips for iPhone Product Photography
A well-thought-out setup contributes to a polished final image and simplifies the product photography process.
1. Mastering Lighting Solutions
Lighting shapes the way your product appears in photos. You can try using these exterior lighting sources, although you’ll need a significant investment. With our studio lighting, you won’t have to worry about artificial lighting, as our services already include this.
- Utilize softboxes or diffusers with artificial lights to soften the light source, reducing harsh shadows and creating a more even, flattering illumination for your products.
- For lifestyle photo shoots, use white foam core boards or large white sheets as reflectors to bounce natural light back onto your product, filling in shadows.
- Invest in a basic LED panel light or ring light setup for consistent artificial lighting.
2. Crafting the Perfect Background
A clean, solid background keeps products at the center of attention. If you don’t have these background options at hand, our product photography studio can prepare well-chosen backgrounds to enhance a product’s appeal, provide context, and reinforce your brand’s aesthetic.
- Use seamless white paper or fabric rolls to create clean backgrounds that work for any product and are easily edited for common e-commerce marketing requirements.
- Experiment with textured surfaces like marble or concrete for lifestyle shots that add visual interest while maintaining focus on your product.
- Choose background colors that complement your product’s color scheme, using color theory principles, like complementary colors, to make your products pop in the photos.
3. Setting Up Stability
Holding your iPhone while shooting increases the chance of blurry images. You can use these tools for camera stability.
- Invest in a sturdy smartphone tripod with adjustable legs and a quality phone mount that securely holds an iPhone.
- Consider a flexible tripod with bendable legs for unusual angles or tight spaces.
- Mark tripod and product positions with tape when shooting multiple products in the same setup.
iPhone Camera Techniques for Product Photography
By adjusting your camera settings, planning your shots, and making good use of special modes, you can create eye-catching product images with crisp detail.
1. Understanding Your iPhone Camera Settings
Your iPhone’s native camera app offers a range of settings that can be optimized for product photography. Familiarize yourself with these controls to fine-tune exposure, focus, and composition.
- Adjust the exposure manually by tapping and holding the screen, which brings up the AE/AF Lock to keep the focus and brightness set.
- Tap to focus on the most important part of your product, then slide your finger up or down to manually adjust exposure.
- Shoot in RAW format when available (iPhone 12 Pro and later) to capture maximum image data for professional editing flexibility and color correction.
2. Applying Different Composition Techniques
Thoughtful composition guides the viewer’s eye and showcases your product’s best features. Experiment with different angles and framing techniques to create dynamic and engaging images.
- Shoot from multiple angles, including straight-on, 45-degree, top-down, and close-up detail shots, to give customers a comprehensive view of your product.
- Capture detail shots of important features, textures, or quality indicators, like stitching, materials, or unique design elements that differentiate your product.
- Use leading lines, symmetry, or geometric shapes to establish visual hierarchy, guiding the viewer’s gaze through the image and emphasizing what’s most important.
3. Capturing the Perfect Moment Using the Burst Mode and Timer
Leveraging your iPhone’s Burst Mode and self-timer promotes complete camera stability during the shot. These features offer practical advantages for specific product photography scenarios.
- Use burst mode (hold down the shutter button) when shooting reflective products or items with moving elements.
- Set longer timer delays (10 seconds) when shooting setups that require last-minute adjustments to lighting, reflectors, or product positioning for optimal results.
- Take advantage of timer mode to eliminate camera shake completely, especially for close-up shots.
Related Questions
How Do You Edit and Enhance Product Photos Taken Using an iPhone?
You can edit and enhance product photos taken with an iPhone using its built-in Photos app for basic adjustments. Another way is to use powerful third-party apps like Adobe Lightroom Mobile or Snapseed for advanced corrections in exposure, color, and sharpness.
What Are the Challenges of iPhone Photography?
One primary challenge of iPhone photography is the limited control over depth of field and dynamic range compared to professional cameras. This can lead to less background blur or blown-out highlights/crushed shadows.
Should I Still Get Product Photos Shot by Professional Cameras?
For large prints, high-end product catalogs, or very detailed products, professional cameras are still the better choice. Our equipment offers better quality, more control over settings, and higher resolution. While iPhones are capable, professional photographers with dedicated equipment can provide a higher level of detail and artistic consistency for premium branding or large-scale campaigns.
Conclusion
Using an iPhone to take product images provides convenience and simplicity. However, it presents limitations in achieving the professional-grade clarity and detailed image control that a DSLR or mirrorless camera can offer, especially when you need to highlight intricate product features. Consider booking professional product photographers for your most important campaigns for flawless execution and maximum visual impact.