Do potential customers scroll past your catalogs, leading to poor sales and diminished brand awareness? Discover how to take product photos of shirts, and see how our photography workflow continues to drive sales and provide stunning e-commerce images for shirt brands.
How to Take Product Photos of Shirts
To capture shirt photos, our photographers use the right combination of DSLR cameras with lenses mounted on stable tripods, paired with strategic backgrounds and props for context. Our team uses softbox lighting to eliminate harsh shadows and employ various presentation styles. We also apply the corresponding camera settings to record crisp details in textures and fabric quality.

Our product images highlight the fabric details, unique craftsmanship, and product features that customers look for. See how our step-by-step process delivers high-resolution pictures for shirt businesses.
1. Preparing Gear and Setting Up the Shoot
Thorough preparation and a well-organized setup are the foundational elements to achieve consistent results throughout the shoot.
Gathering Photography Gear
We assemble the necessary photography gear to achieve professional-grade product shots, enabling us to control lighting, stability, and image quality.
- Use a DSLR camera for better control of settings.
- Set up a sturdy tripod to keep shots blur-free.
- Prepare 100mm macro lens for close-ups on fabric textures and standard lenses to capture the whole shirt.
- Include color cards for accurate white balance, a remote shutter release to minimize camera shake, and bounce cards to control light and shadows.
Creating the Photo Shoot Setup
We’ve established an effective photo shoot setup for consistent product presentation and a streamlined workflow.
- Prepare a plain white or neutral-colored backdrop to keep the focus entirely on your shirts.
- Inspect each shirt for wrinkles, lint, or loose threads, and steam garments to use a lint roller to keep shirts crisp and clean.
- Add props only if they highlight the shirt’s use or style.
- Pay attention to small details, like neatly buttoned shirts or stylishly tied tassels, to present each garment flawlessly.
2. Employing Lighting and Presentation Techniques
These elements enable our product photographers to define the mood and highlight the unique selling points of each garment.
Controlling Artificial Light
With mastery in controlling artificial lighting, our photographers achieve precise control over brightness, contrast, and shadows in every frame.
- Implement a classic three-point lighting setup, consisting of a key light (main light source), a fill light (to soften shadows), and a backlight (to add depth and separation).
- Utilize softboxes or umbrellas with artificial lights to diffuse the light, creating an even glow that minimizes harsh shadows.
- Place lights closer to the subject to create softer light, or make slight adjustments to the angle to emphasize specific details and create subtle dimensionality.
- Incorporate reflectors (white, silver, or gold) to bounce light into shadowy areas, or use black flags (negative fill) to create deeper shadows.
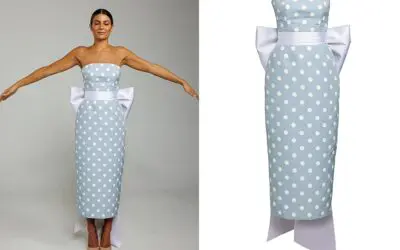
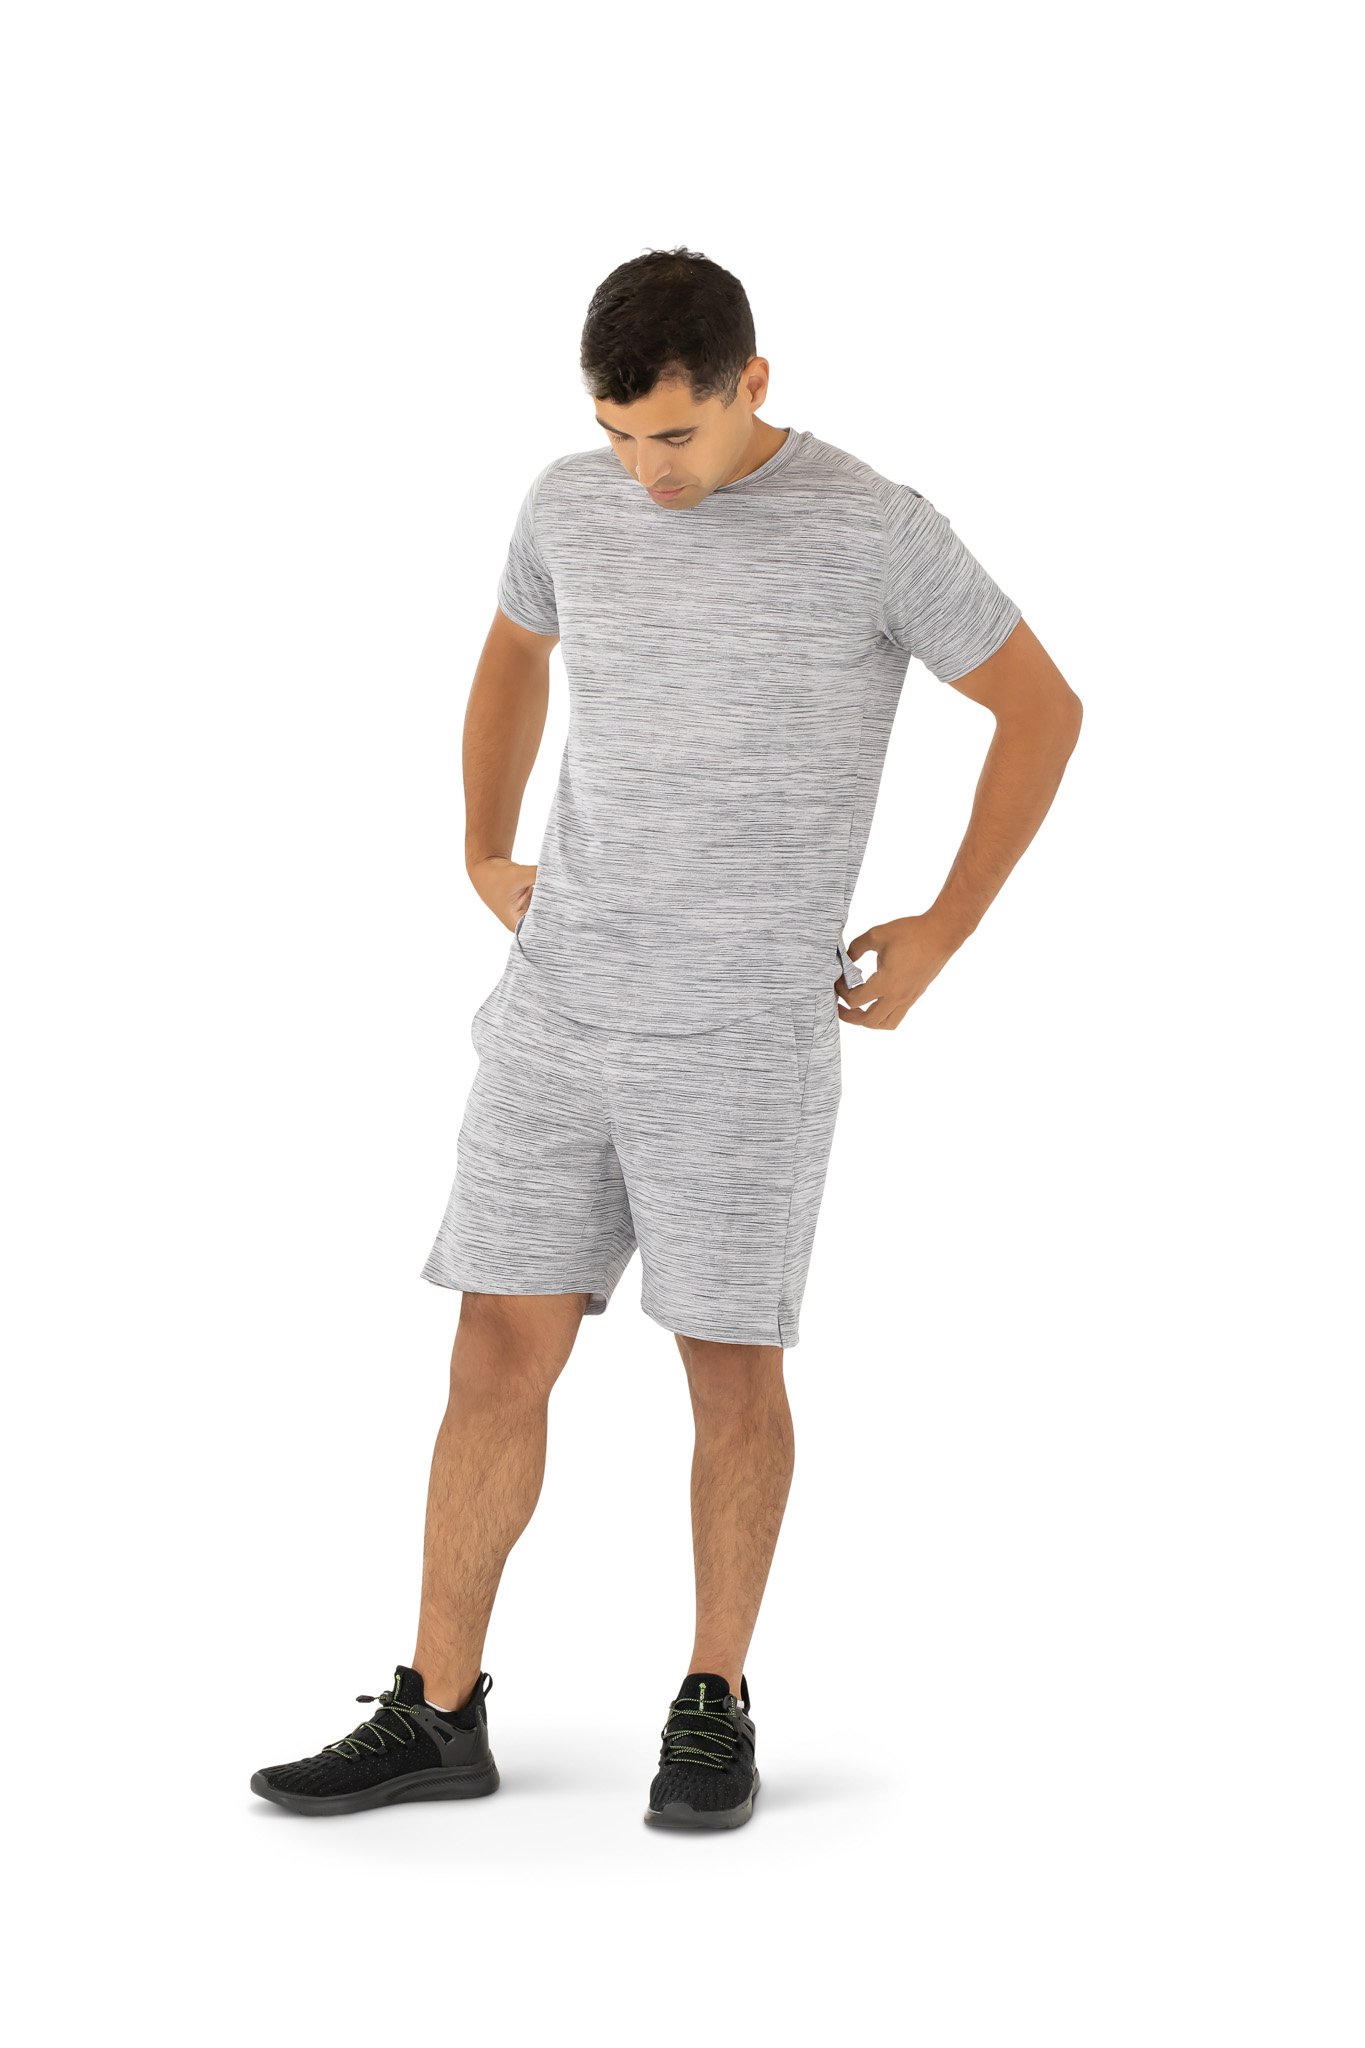
Utilizing Different Presentation Styles
In our conceptualizations, we can discuss the appropriate presentation style to effectively communicate the fit, drape, and aesthetic of your shirts, thereby influencing customer perception and purchasing decisions.
- Use mannequins for a cost-effective option, offering a clean, uniform look that highlights the garment’s shape without distractions.
- Try flat lay to shoot directly above, highlighting patterns, graphics, and fabric details.
- Use hangers to display shirts vertically against a neutral background for a straightforward view of the garment’s whole appearance.
- Stage shirts in real-life scenarios to connect with customers on an emotional level.
3. Maximizing Creative Concepts and Camera Settings
Using proper techniques helps our product photographers capture sharp, well-exposed, and color-accurate product images of shirts.
Experimenting With Angles, Perspectives, and Compositions
Strategic use of angles, perspectives, and composition creates dynamic and informative shirt product photos, guiding the viewer’s eye and highlighting key design elements.
- Apply compositional guidelines, such as the rule of thirds, to create balanced and engaging images.
- Place the camera directly in front of the shirt to keep lines straight and avoid distortion.
- Take photos of the shirt from several views: front, back, and side to showcase features and fit details.
- Zoom in for close-up shots of unique elements, like patterns, buttons, or logos.
Optimizing Camera Settings
Our photographers use the appropriate camera settings to achieve optimal exposure, sharpness, and color accuracy to present shirts clearly and true to life.
- Set a higher aperture, usually f/8 to f/11, for sharp focus across the shirt.
- Keep ISO at 100 or 200 to prevent grainy images.
- Select a slower shutter speed to let more light enter the camera.
- Set a custom white balance for accurate color representation of clothes.
Common Client Concerns on Shirt Product Photos
Whenever brands and entrepreneurs inquire about our product photography services, it’s normal for clients to have some questions and concerns. These could be anywhere from technical issues to styling challenges. We’ve been in the industry since 2002, allowing us to provide practical solutions to get the shoot on track.
| Client Concerns | Our Solutions |
| Flat, lifeless appearance | Use a mannequin or model, stuff sleeves, adjust positioning |
| Colors don’t match the actual shirt | Set custom white balance, use color checker card, shoot in RAW |
| Products appear in different sizes | Use a tripod with marked positions, consistent framing guides |
| Fabric looks flat, no texture visible | Add side lighting, reduce exposure slightly, enhance in post |
| Visible grain or digital noise | Lower ISO, add more lighting, proper exposure |
| Patterns appear wavy or bent | Change camera angle, adjust distance, use a different aperture |
Related Questions
Why Do I Need Professional Product Photographers to Take Pictures of Shirt Products?
Professional product photographers possess the expertise and equipment to consistently deliver high-quality, consistent images that truly represent your brand’s aesthetic. Our product photographers understand how to utilize lighting, composition, and post-production to create visually striking photos that drive customer engagement and sales.
How Can Your Photography Sessions Incorporate Business Branding in Photos of Shirts?
Our product photography shoots can incorporate your business branding by subtly including elements like branded tags, custom hangers, or carefully chosen props that reflect your brand’s aesthetic and color palette. During consultations, we can also plan consistent styling and a distinct visual signature across your product photos to reinforce your brand identity.
How Do You Retouch and Enhance Product Images of Shirts?
Our retouching and image enhancement workflow involves meticulously removing dust and lint, correcting color and exposure for accuracy, and subtly smoothing wrinkles in shirts. Professional enhancement also includes sharpening details and creating a consistent look and feel across your entire product line.
Conclusion
Clear, well-lit images show your shirts’ colors, textures, and fit, making it easier for people to picture what they’re buying. We can bring in skilled product photographers to showcase your apparel’s unique selling points, fostering genuine connections with your target audience, growing your brand, and ultimately driving sales.